✅ Before you begin
You don't need an Embed3D account ahead of time. When you connect Claude, you can sign in — or create a new account — right in the flow, all through the MCP.
- New to Embed3D? Just start connecting below. At the Approve access step you can create your account on the spot, and Claude only sees that workspace.
- Already have an account? Sign in at the Approve access step to link your existing workspace. Open Embed3D →
Connect Claude to Embed3D
👥 On a Claude Team or Enterprise plan? Read this first
Custom connectors can only be added by a workspace admin/owner. On Team and Enterprise accounts, a regular member can't add the Embed3D connector. Contact your admin, and have them review the instructions below.
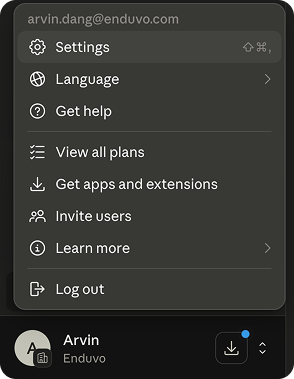
Open Claude's connectors settings
In Claude Desktop (or Web), click your profile, then navigate to Settings → Connectors.
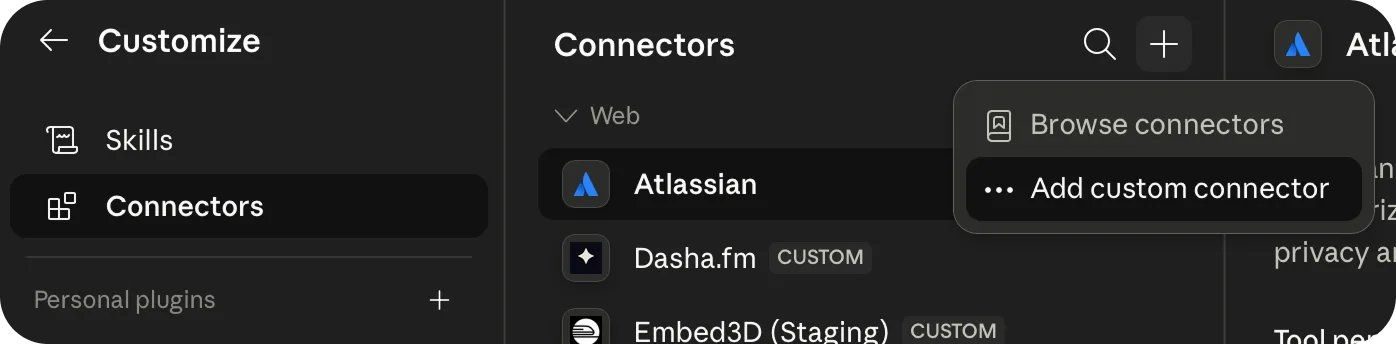
Add a custom connector
On the Connectors page, click the + in the top-right corner and select Add custom connector.
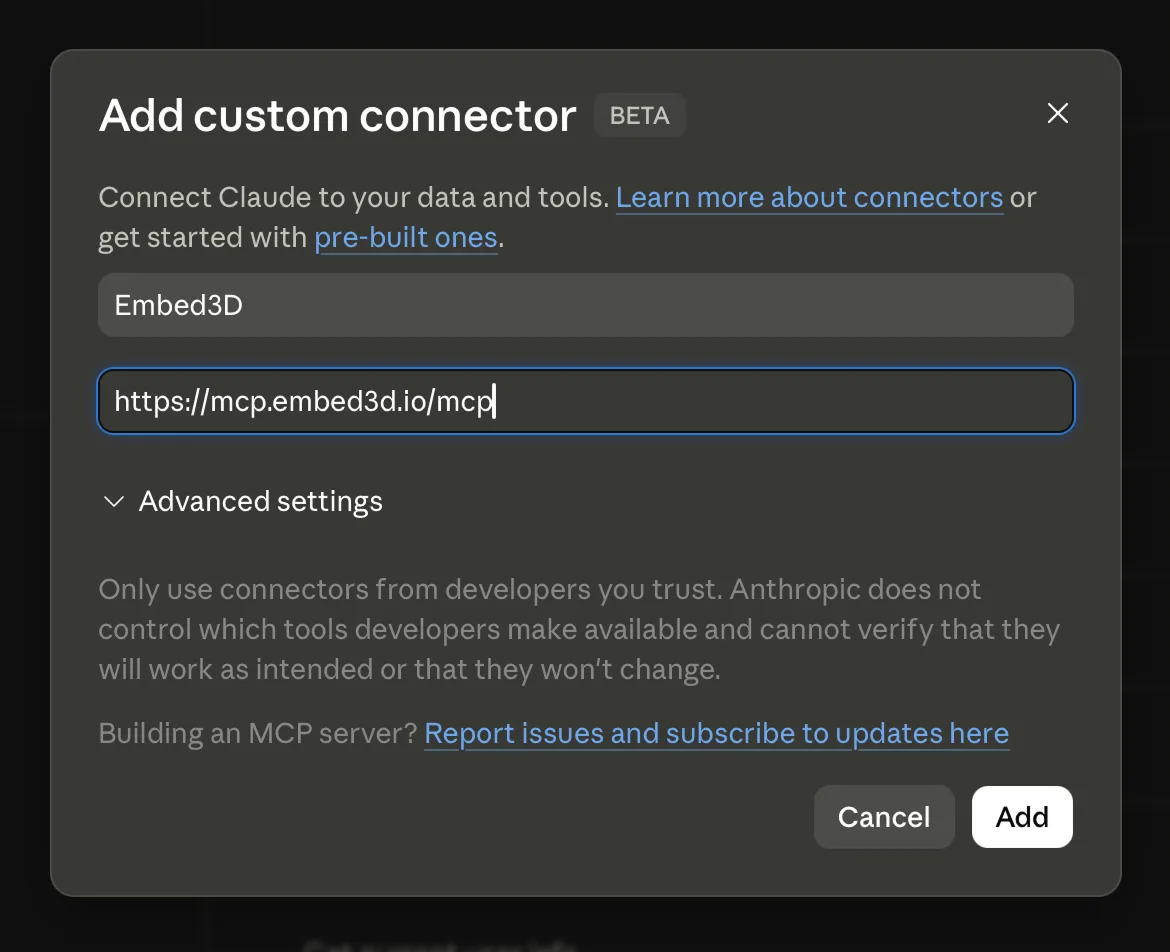
Enter the Embed3D server details
Name the connector Embed3D and paste the MCP server URL:
https://mcp.embed3d.io/mcp
then click Add.
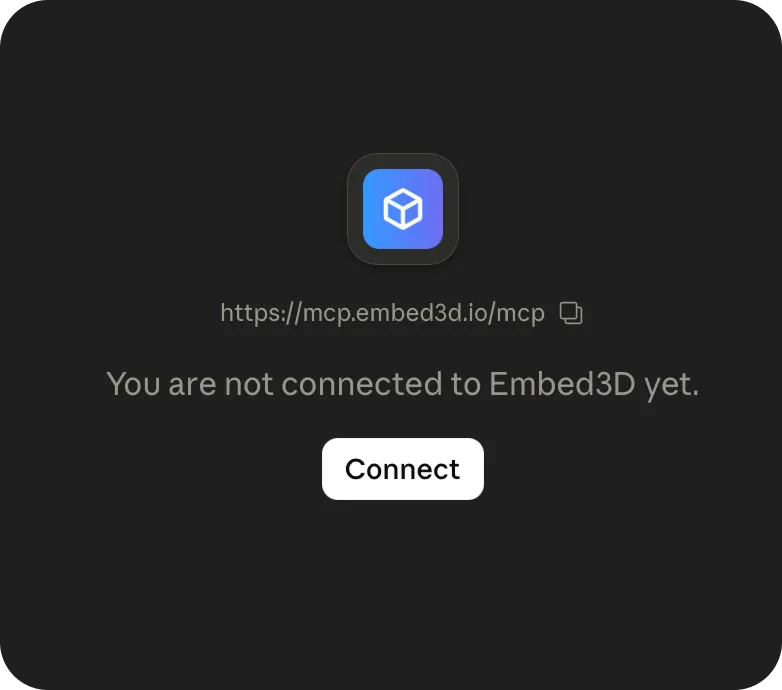
Connect your account
The new Embed3D connector shows as not connected yet. Click Connect to start the sign-in flow.
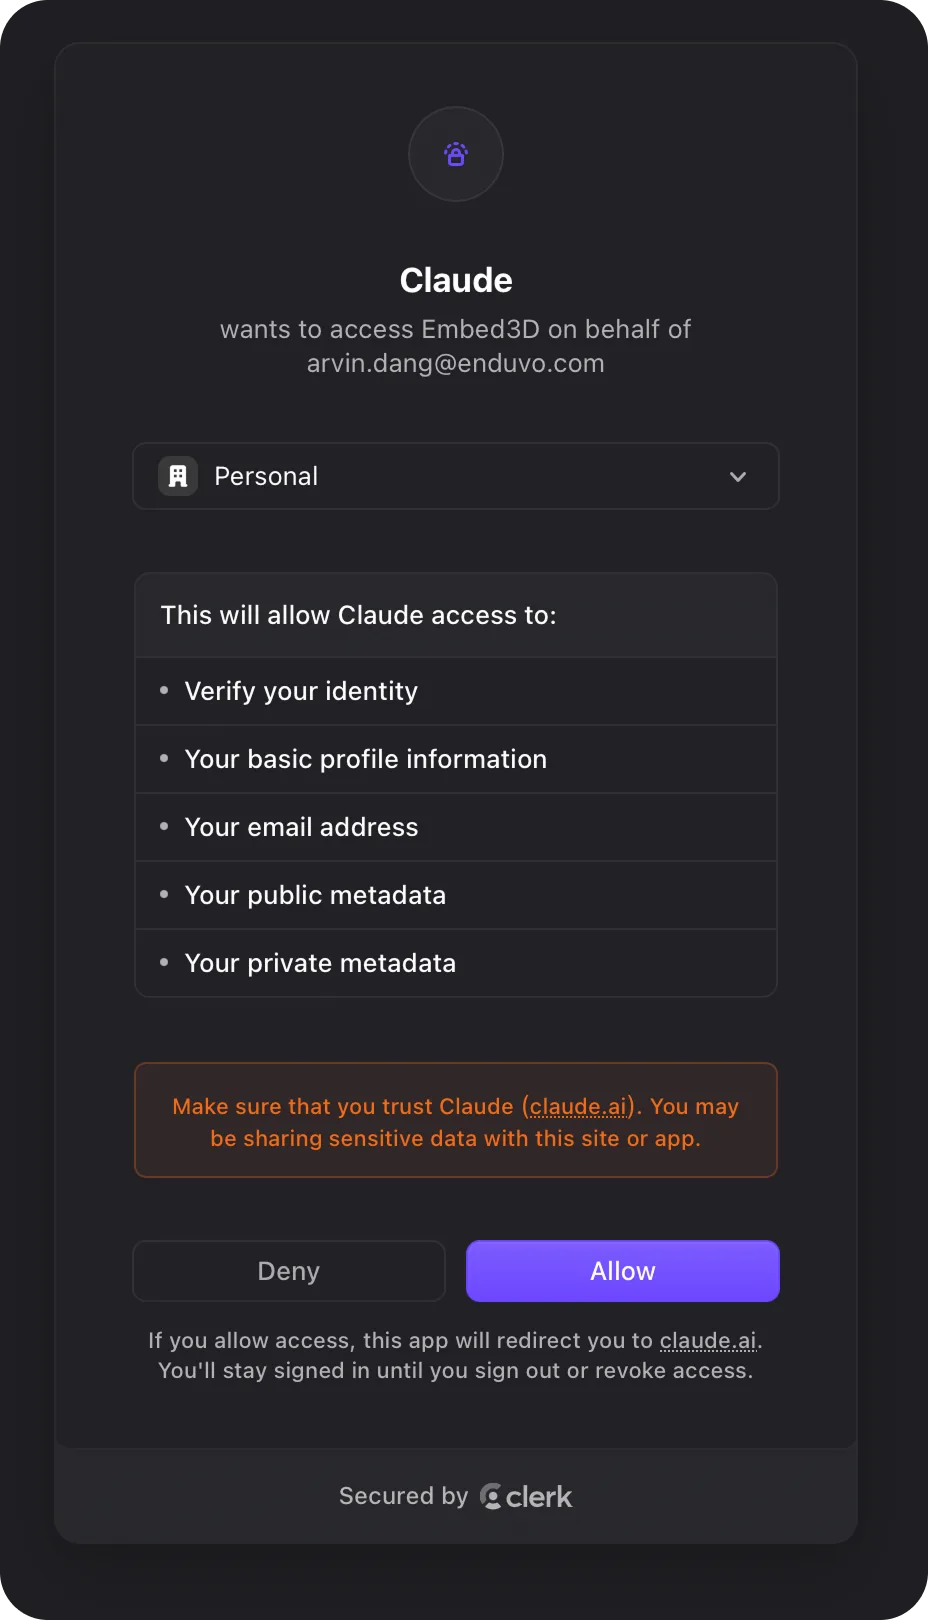
Approve access
Sign in — or create a new Embed3D account right here — then review the requested permissions and click Allow. Claude only sees the workspace you sign into.
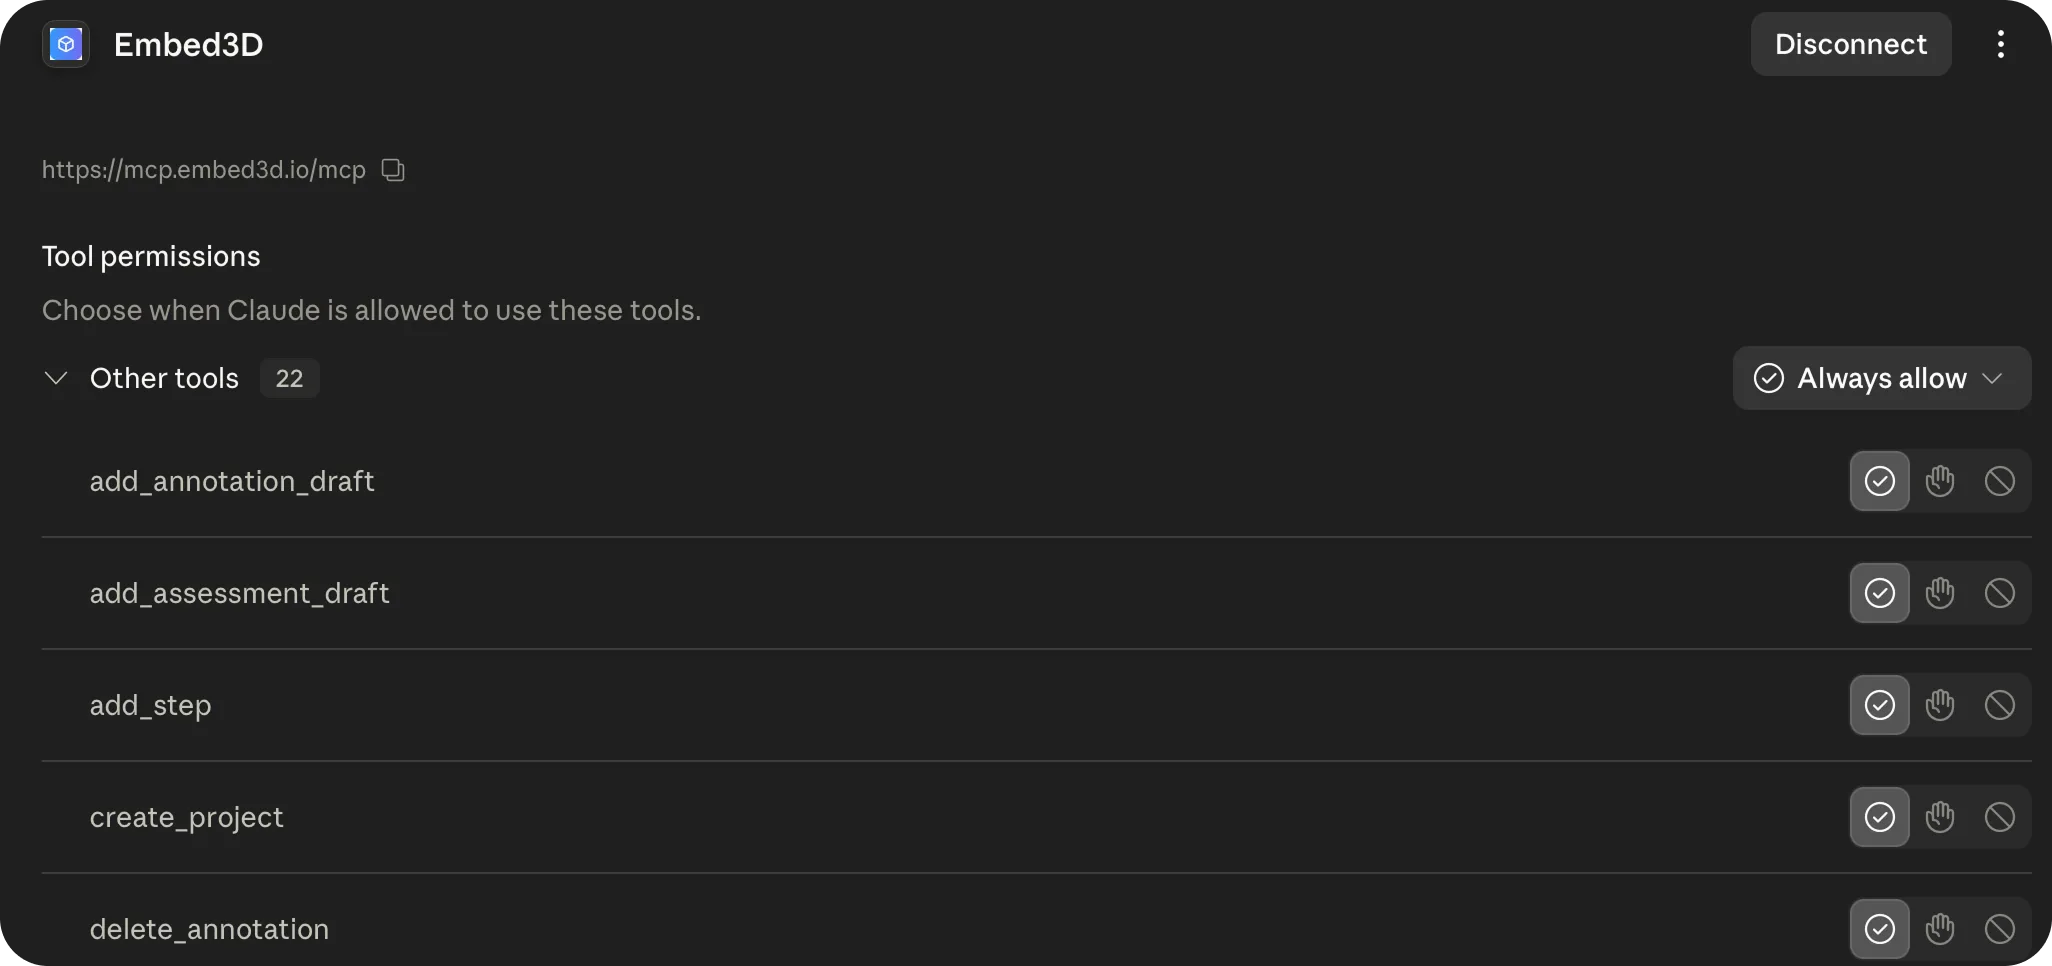
Review tool permissions
Embed3D is now connected. You can review each tool Claude is allowed to use and set Always allow so you're not prompted on every action.
Ask Claude to build something
In a new chat, give Claude a goal — for example: "Use the Embed3D MCP to create a new project that outlines the parts of a turbine engine (use the model already uploaded, turbine_turbofan_engine.glb)."
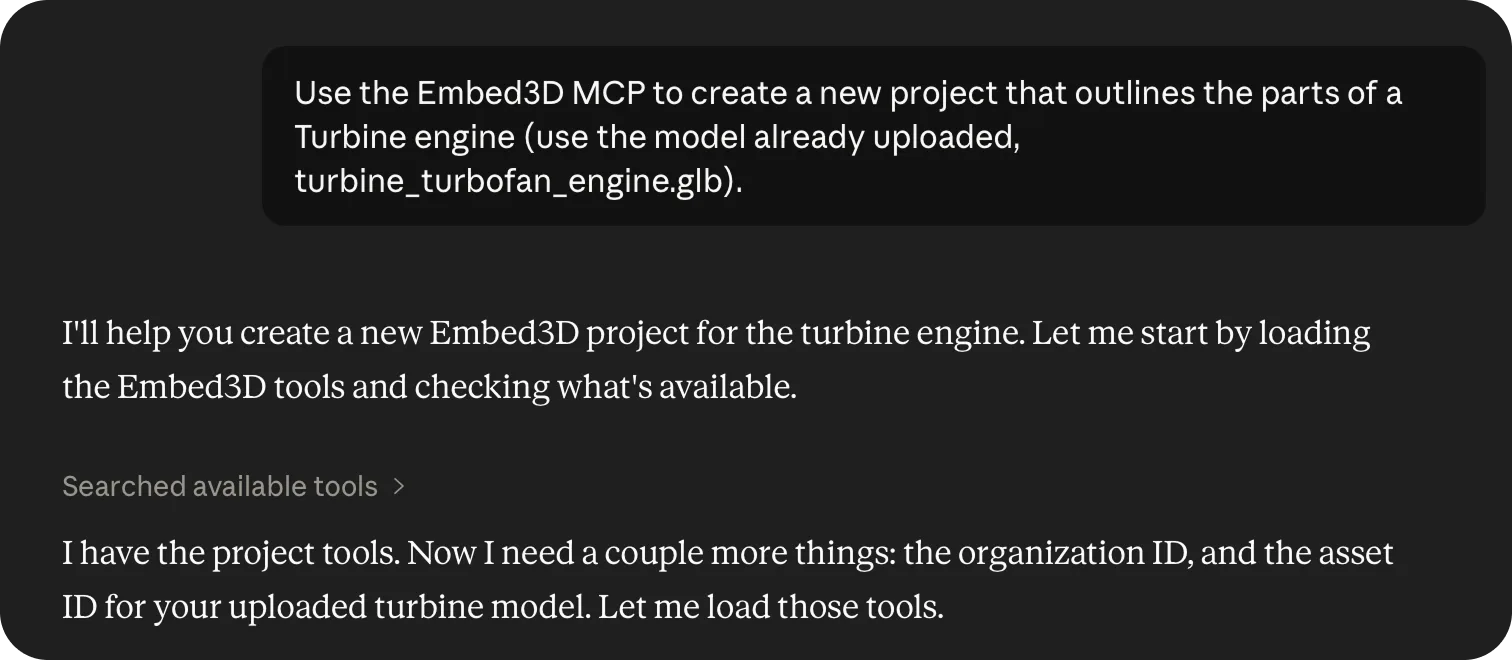
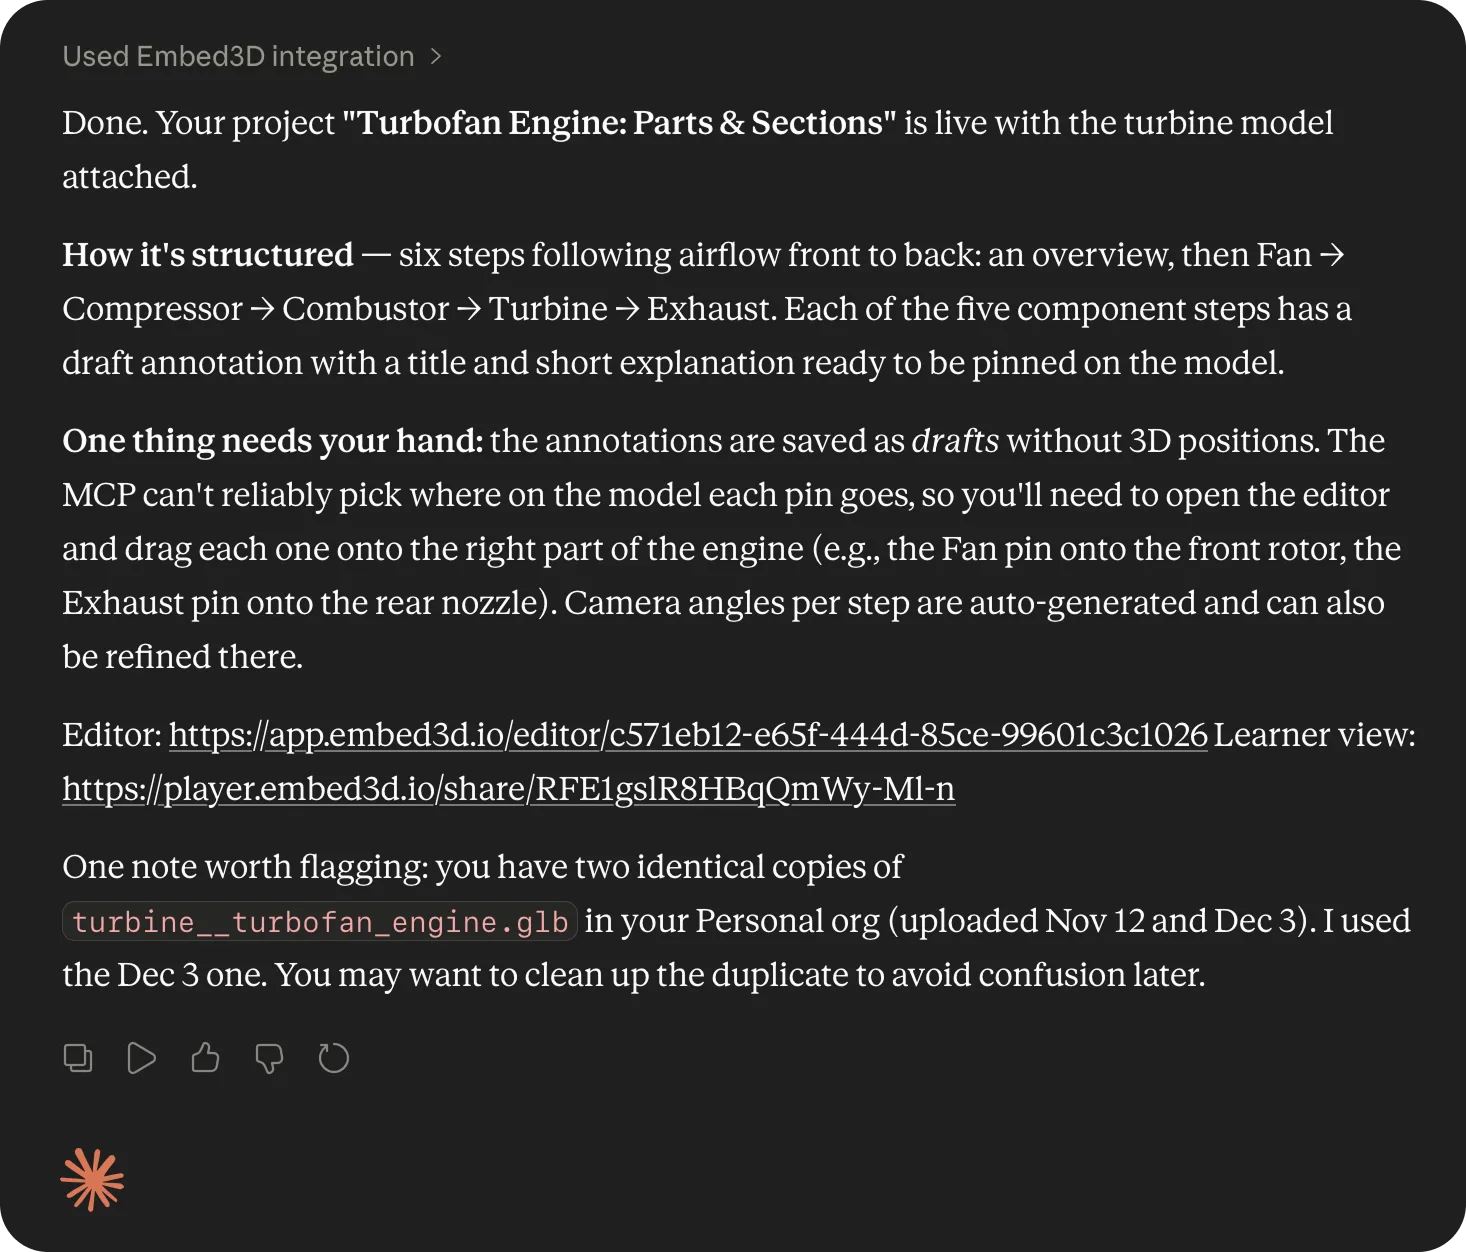
Review the result, then finish in the editor
Claude builds the project — steps, titles, and explainer text — and saves annotations as drafts. It returns editor and learner-view links so you can hop in, place the pins, and refine.
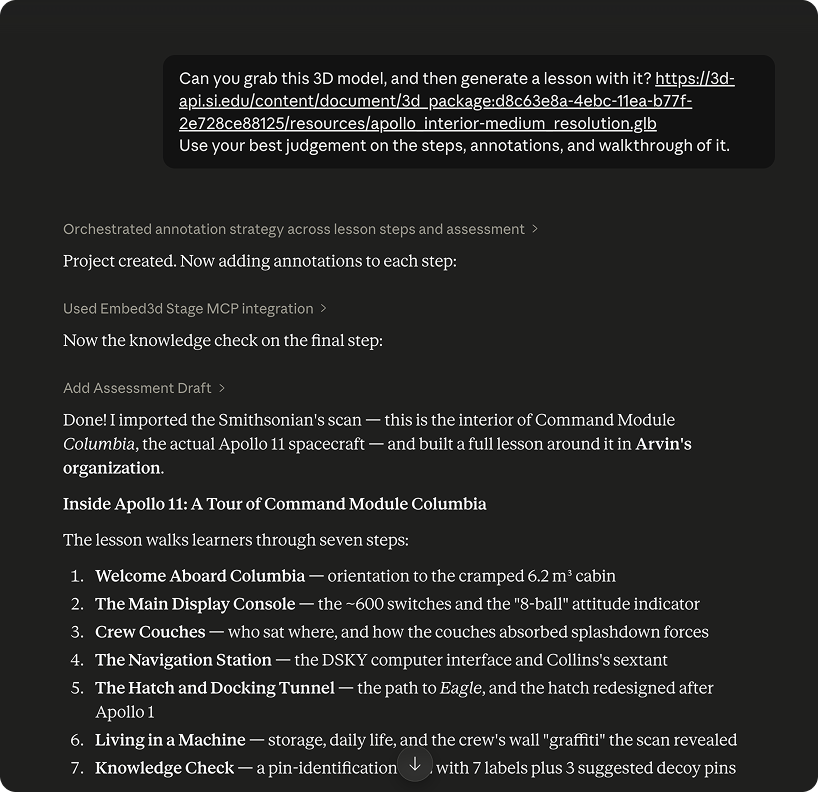
Start from a 3D model on the web
Found a model online — say a free scan from the Smithsonian's open 3D collection? Paste a
direct link to the .glb file into your prompt and Claude
imports it through the Embed3D MCP, then builds a project around it. No manual download or upload.
For example:
"Import this model https://example.org/skull.glb and create a 4-step lesson on its anatomy."
What Claude can do
- Projects: list, create, rename, and archive projects in your workspace.
- Assets: start a new project from any sample asset, a 3D model you've previously uploaded, or a public GLB you link by URL (for example, a model from the Smithsonian's open 3D collection).
- Lessons: draft a full step sequence — titles, explainer text, and annotation drafts — in a single prompt.
- Assessments: propose pin-and-match assessment items tied to specific steps.
🎯 Where you take over
Review, validation, and placement happen inside the editor:
- 3D orientation per step. Open each step in the editor and position the model how you want it.
- Annotation Queue. Annotations that Claude drafts arrive in an Annotation Queue on each step. Open the step, then drop each pin on the part of the model it refers to.
- Assessment Queue. Assessment items work the same way — open the step's Assessment Queue and place the matched pins on the model.
💡 Pro Tips
- Reference an existing project by name — "In my 'Cardiac Anatomy' project, add 3 steps after step 4."
- Ask Claude to list your sample assets first if you're not sure what's available.
- Drafted annotations and assessments are safe — nothing is published until you place the pins and confirm.
- Revoke access any time from Embed3D → Settings → Connected apps or from Claude's Connectors panel.